

Pattern Imprinted Concrete
Installation Process
Below is a step by step installation of Patterned Concrete.
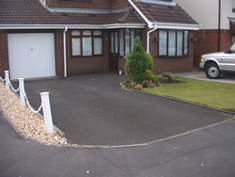
installation1
Existing driveway prior to work commencing.
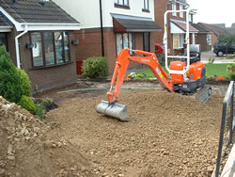
installation2
Driveway excavated and back filled with stone to required depth.
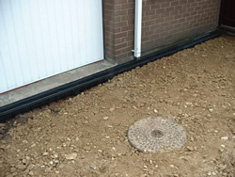
installation3
All necessary drainage installed to requirements.
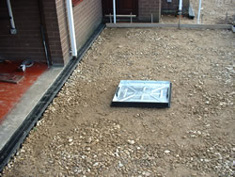
installation4
Recessed inspection cover fitted where required.
installation5
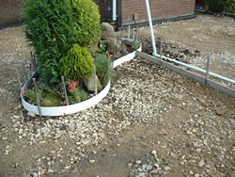
Shuttering installed to retain the concrete to desired shape.
installation6
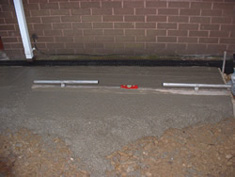
Concrete is placed and leveled.
installation7
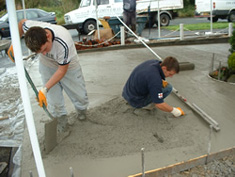
Concrete is finished to road level.
installation8
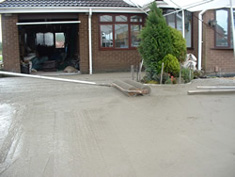
Placed concrete is roller-bugged to flatted and push down aggregate.
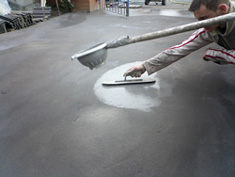
installation9
Concrete is coloured and trowelled.
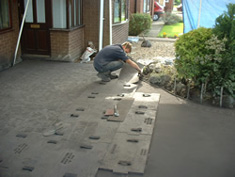
installation10
After concrete is levelled and coloured the stamping process can begin.
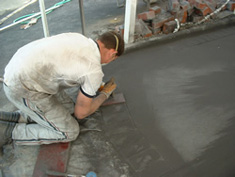
installation11
Detailing of the borders.
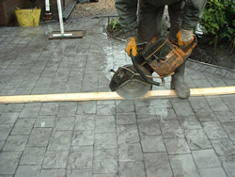
installation12
Manually installed crack control joints to prevent random cracking.
installation13
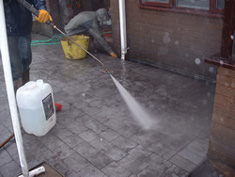
The driveway is left for 1 – 3 days to harden then thoroughly cleaned with a pressure washer.
installation14
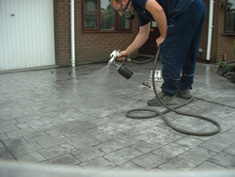
After the concrete is totally dry acrylic sealer is applied to the surface to bring out colour and prevent stains.
installation15
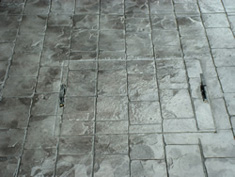
Recessed inspection cover to replace unsightly cast iron item.
installation17
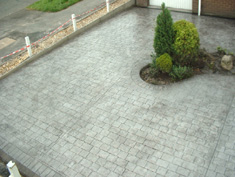
Finished driveway to last for years to come.
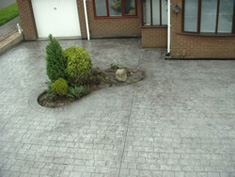
installation16
Attention to detail.
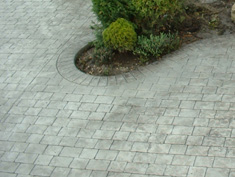
installation18
A beautiful transformation.